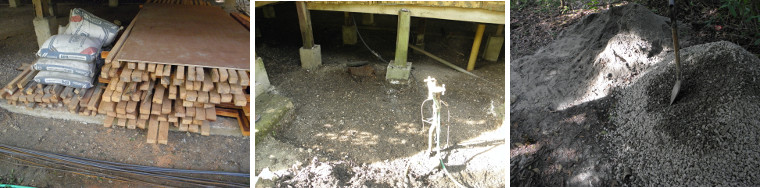
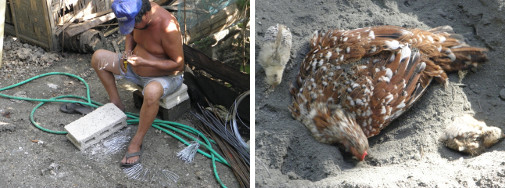
while waiting for materials to be ordered and delivered
July 14 -24
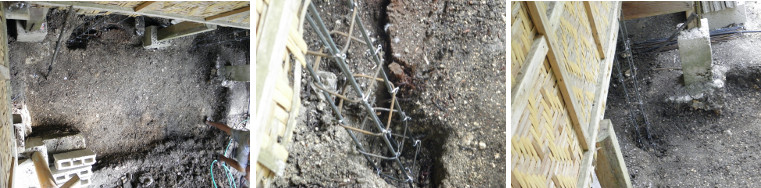
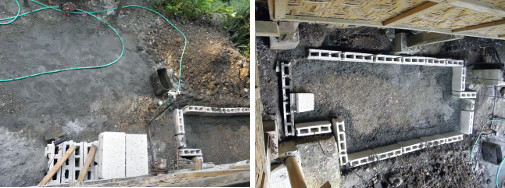
Mark out the Work Area
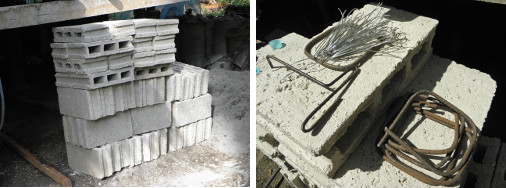
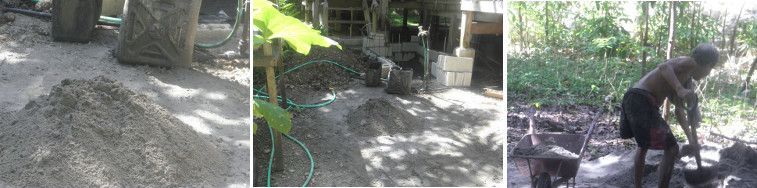
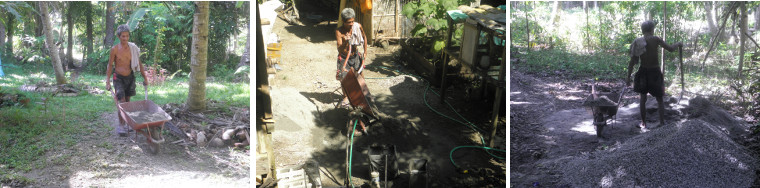
Collect the Materials

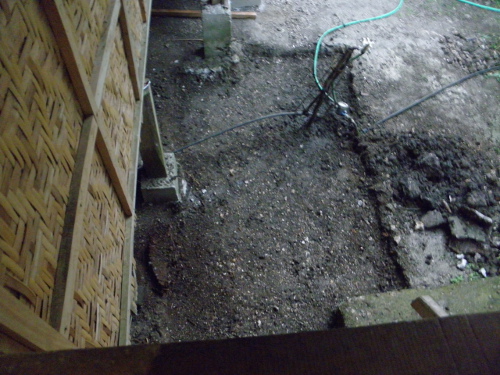
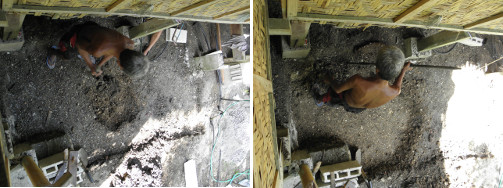
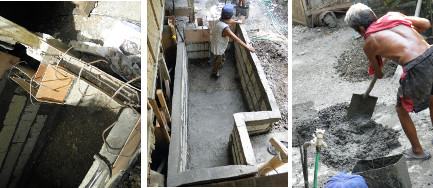
Dig the foundations
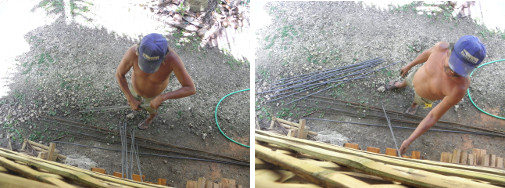
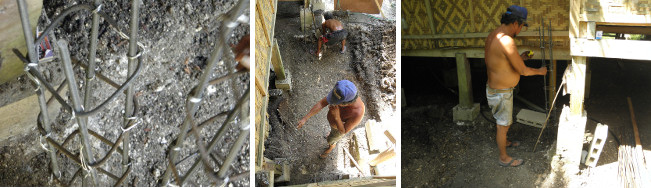
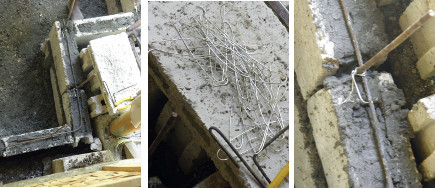
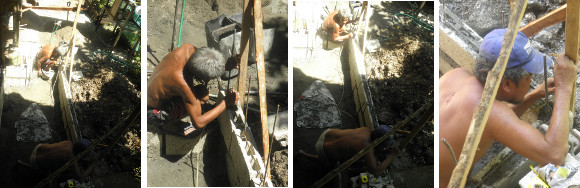
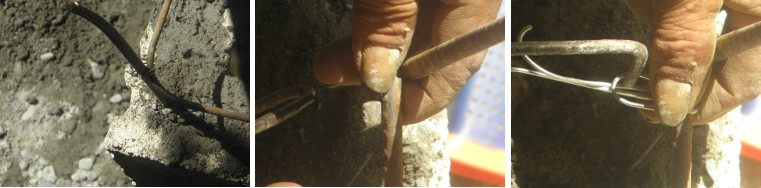
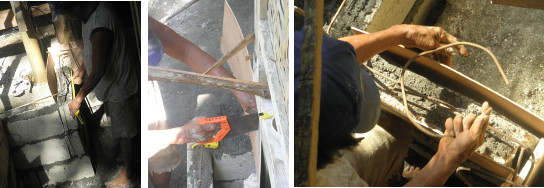
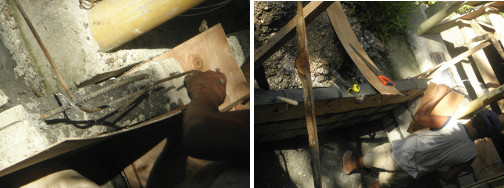
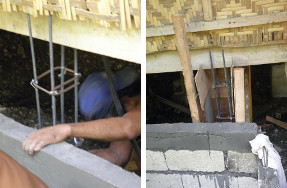
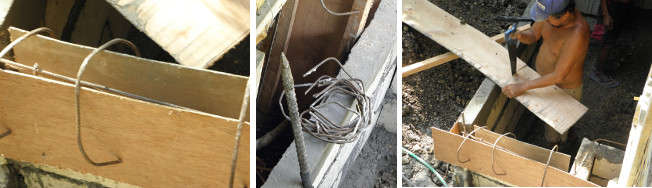
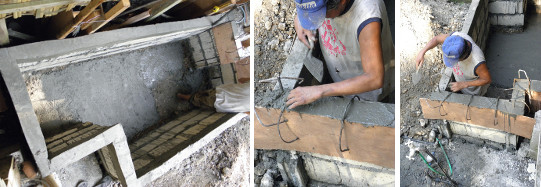
Cut the Metal for Frames
 \
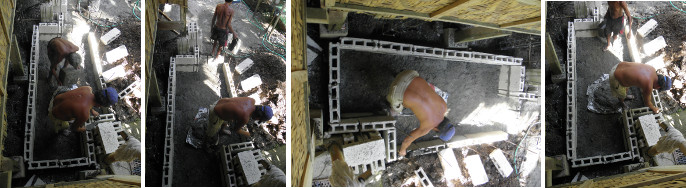
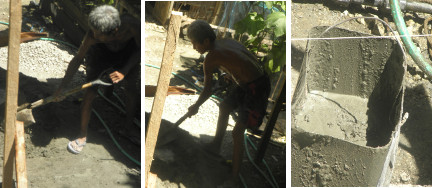
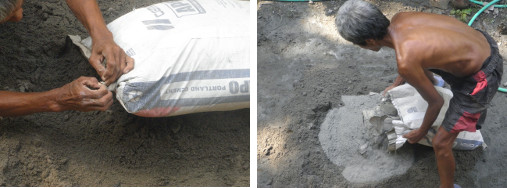
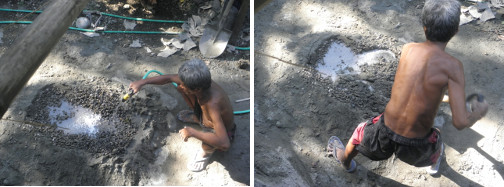
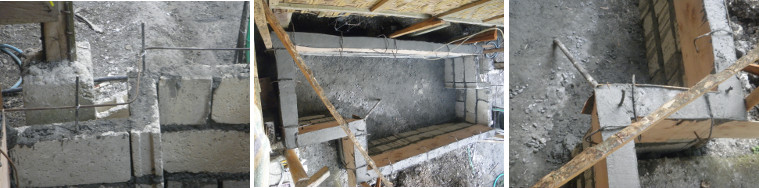
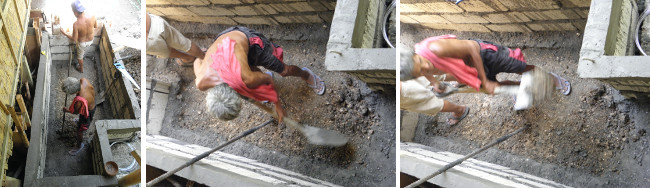
\Make Concrete
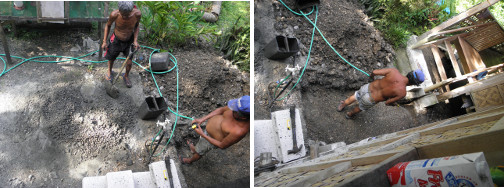
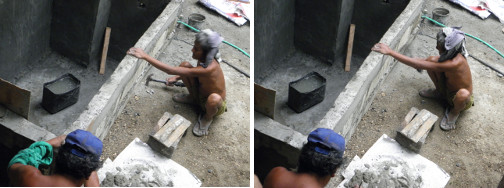
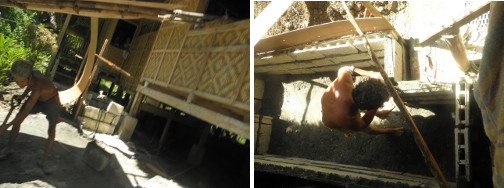
The End of the First Day
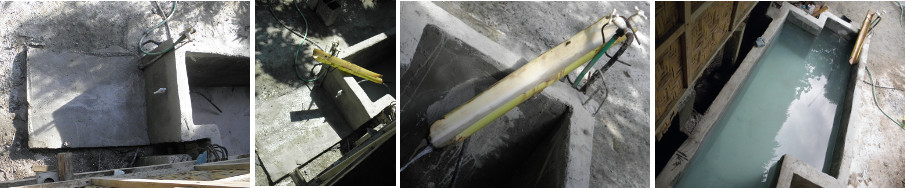
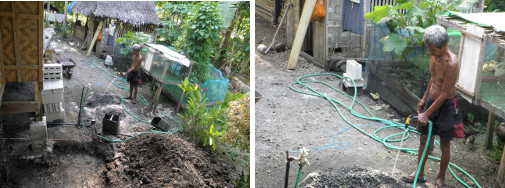
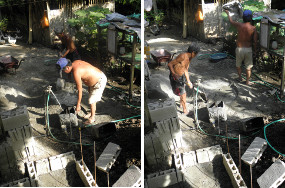
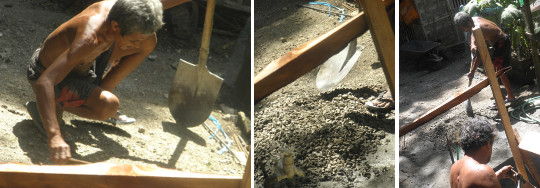
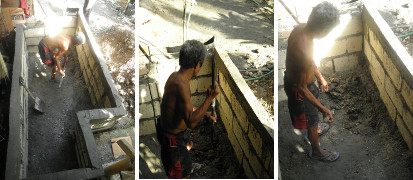
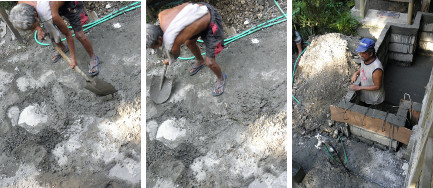
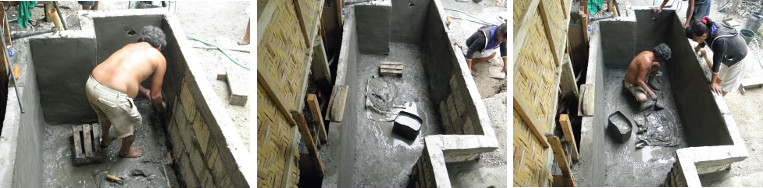
Start off by damping down

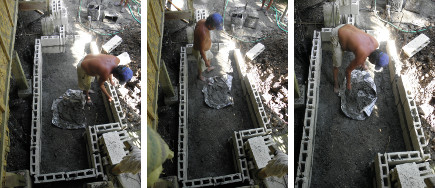
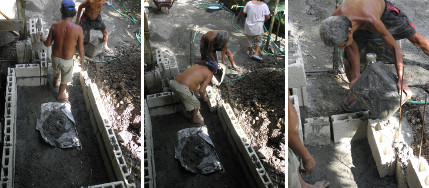
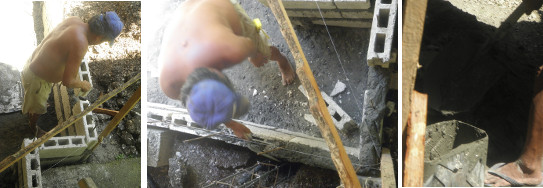
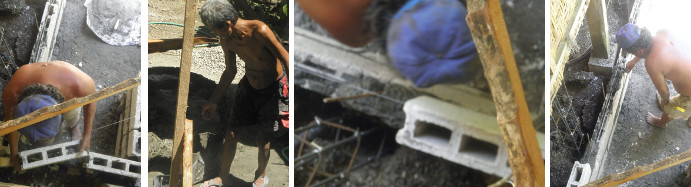
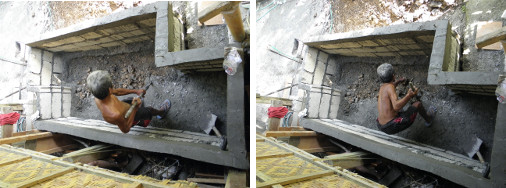
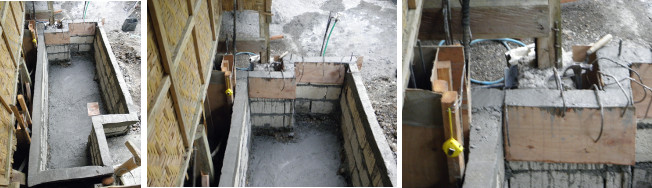
Make the Inside deeper than the Outside
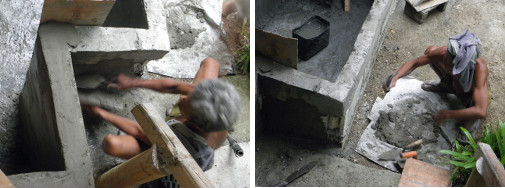
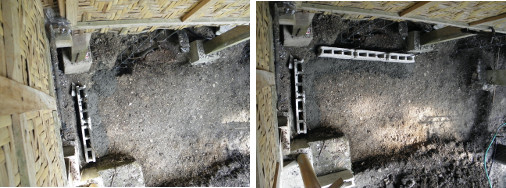
End of the Third Day
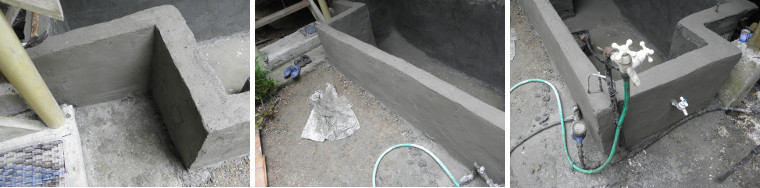
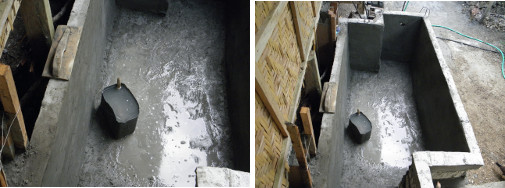
No water in the tap
-So construction has to stop until water is available
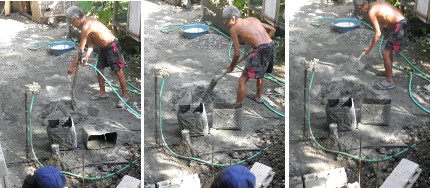
Water is back : Fill
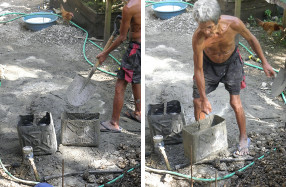
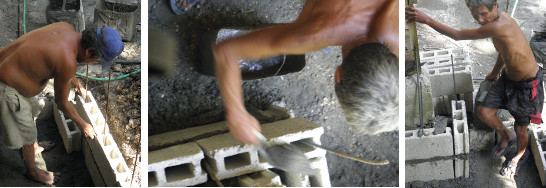
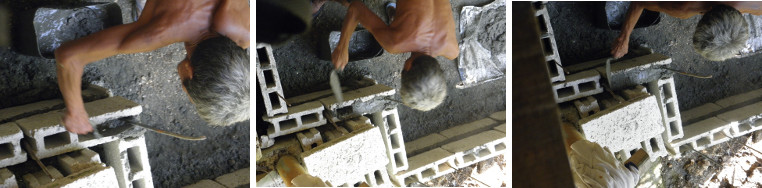
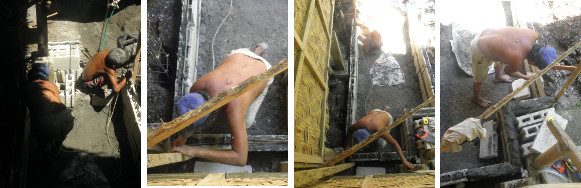
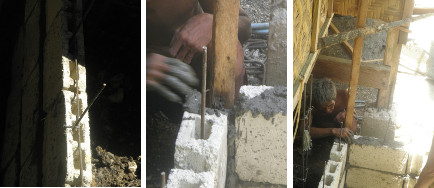
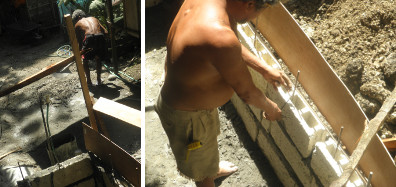
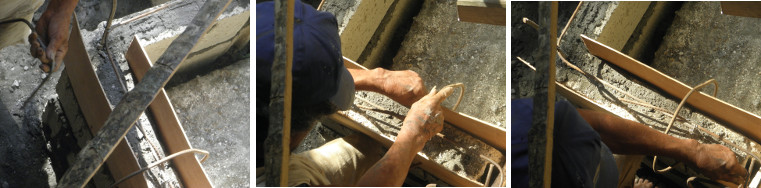
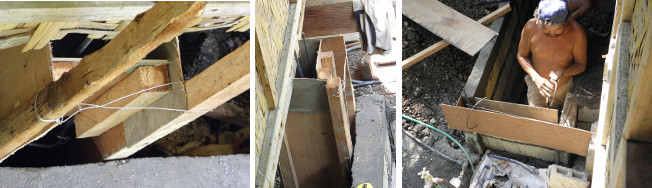
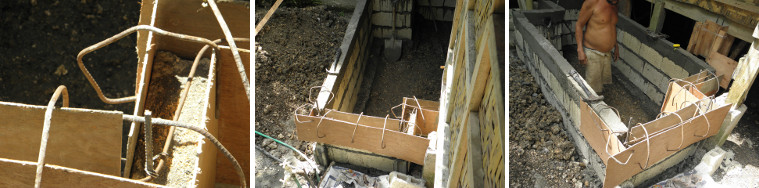
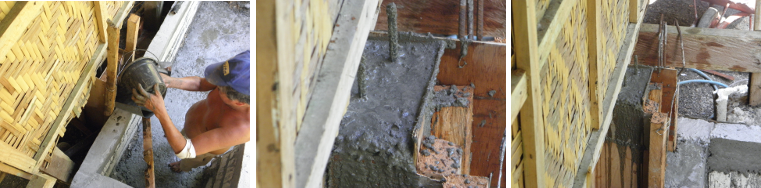
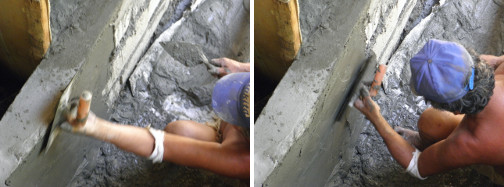
Support-pillar molds with concrete

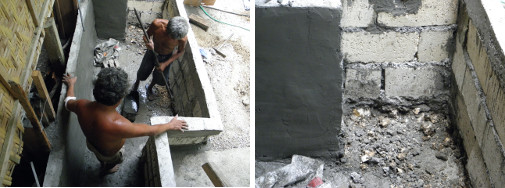
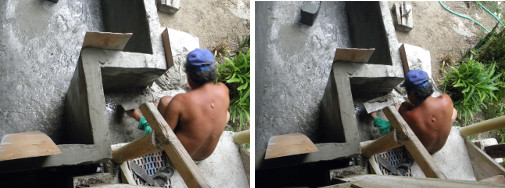
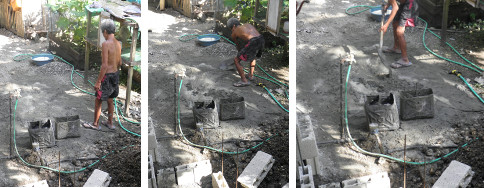
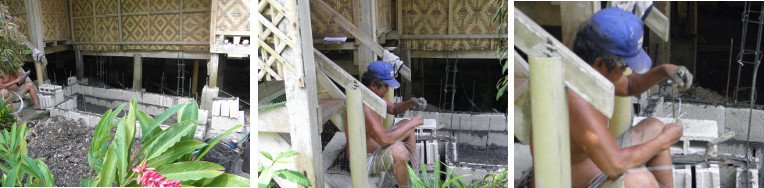
Clean up the Outside